You can choose the menu "Advanced->Settings" and make some configurations, thus ForeUI can serve you better.
There are 6 tabs in the settings window:
General Settings
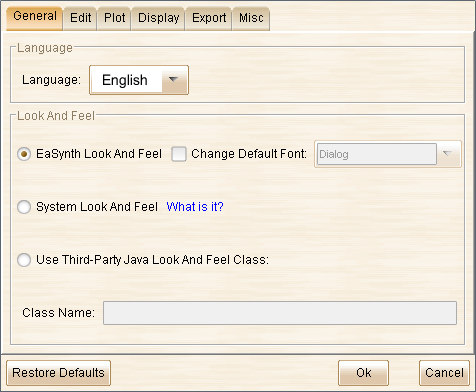
Language:
Change GUI's language. So far ForeUI supports English, German, French, Spanish and Brazilian Portuguese languages. These translations are contributed by volunteers. More details are available in http://www.foreui.com/translation.htm.
Look and Feel:
You can choose the look and feel for ForeUI itself. The default one is EaSynth look and feel, which will have the same look for all platforms.
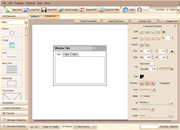
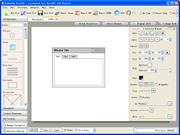
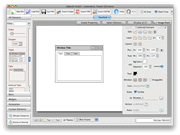
If you want ForeUI looks more native, you can choose the "System Look And Feel", thus ForeUI will have different look when running in different platforms. (Figures below shows the look for Windows XP, Mac OS X and Windows 7)
Edit Settings
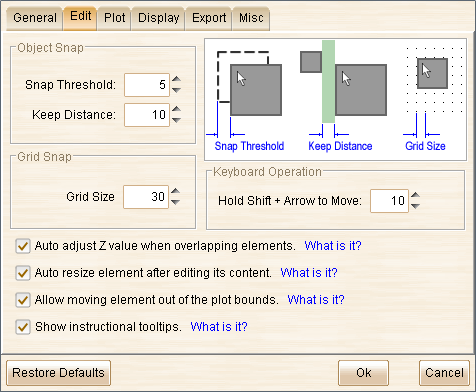
In the "Edit" tab you can configure some important parameters for editing.
Object Snap: Here you can define the parameters for object snap.
Grid Snap: Specify the grid size for grid snap. (Grid snap could be overridden if you drag element with right mouse button hold)
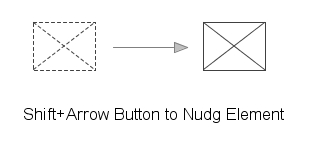
Keyboard Operation: You can configure the step length when nudging element with Shift + Arrow keys pressed.
Auto adjust Z...: If you don't want ForeUI to change the Z values of elements when they are overlapped, you can uncheck this option.
Auto resize ...: If you don't want ForeUI to resize the element after editing the element content (text, image etc.), you can uncheck this option.
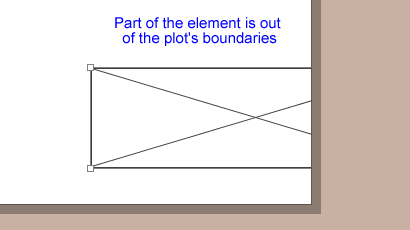
Allow moving...: If you don't plan to place a part or whole element out of the plot's boundaries, you can uncheck this option.
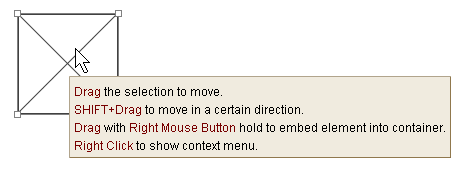
Show instructional...: If you don't wish to see the floating instructional tool tip, you can uncheck this option. The instructional tool tip is the small floating window like this:
Plot Settings
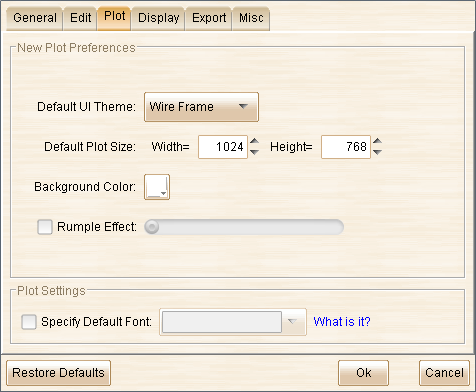
Here you can change the preferences for newly created plot. When you create a new plot, ForeUI will try to use these parameters. After the plot is created, you can still configure the plot's parameters.
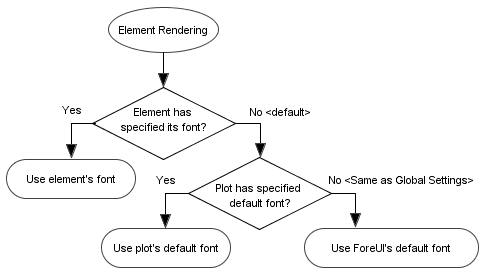
You can also specify the default font here. In ForeUI, all text elements will be rendered with the plot's default font if you haven't specified the element's font explicitly. The plot's default font can be specified here. If the plot's default font is set to "<Same as Global Settings>", the global default font defined here will be used. The chart below shows how ForeUI will decide the font to render an element.
You can change the "default font" to any font you need, but you have to make sure the text content can be rendered with that font. For example, if your plot contains Asian text, you should not use "Arial" font since it can't paint the Asian text.
Display Settings
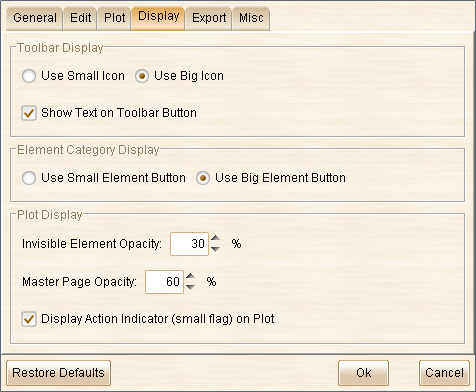
There are quite a lot options in this tab, they are all about the display / rendering.
| • | Toolbar Display: you can customize the look of the toolbar in main window. |
| o | Use Small Icon: show small icons (16 x 16) in the toolbar. |
| o | Use Big Icon: show big icons (32 x 32) in the toolbar. |
| o | Show Text on Toolbar Button: whether to show text in toolbar button. |
| • | Element Category Display: you can change the button size of element categories. |
| o | Use Small Element Button: show small buttons (50 x 50) for elements listed in category. |
| o | Use Big Element Button: show big buttons (100 x ??) for elements listed in category. |
| • | Plot Display: you can decide how to paint the invisible elements, master pages and the action indicators. |
| o | Invisible Element Opacity: 0% for totally invisible, 100% for totally visible. Default value is 30%. |
| o | Master Page Opacity: 0% for totally invisible, 100% for totally visible. Default value is 60%. |
| o | Display Action Indicator: whether to display small red flag on top right of the element that has action defined. |
Export Settings
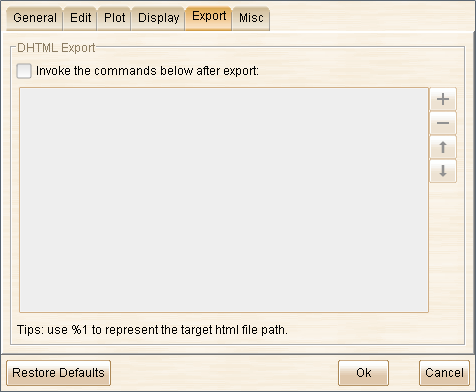
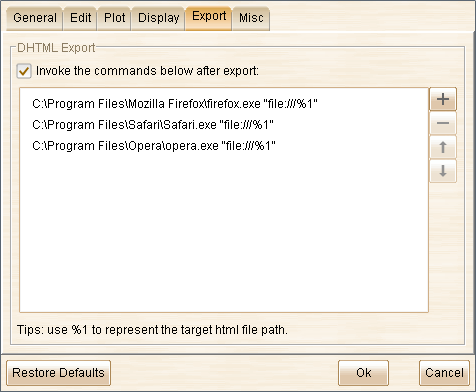
In this tab you can define some commands that will be invoked after the DHTML export. Here's an example, which will run the simulation in FireFox, Opera and Safari when the DHTML is generated.
Misc Settings
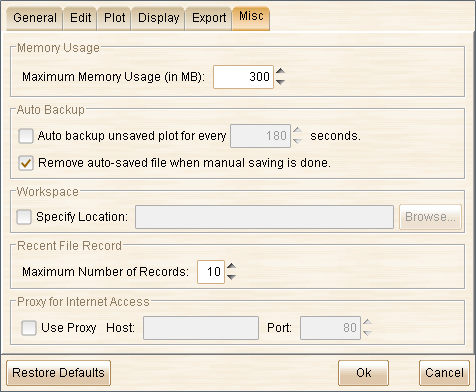
Memory Usage: You can specify the maximum memory usage of ForeUI (the default 300 MB should be enough in most cases).
Auto Backup: If the auto backup is enabled, the unsaved plot will be backup for certain intervals.
Workspace: Here you can change the location of the workspace, which will cache the data for editing plot temporarily.
Recent File Record: You can also specify the maximum number of recent file records (which will be listed under "File" menu).
Proxy for Internet Access: You may need to specify a proxy here if you need that for internet access.