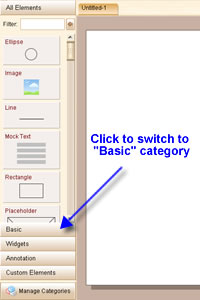
Element category is the element list on the left that allows you to add element into plot. ForeUI provides 5 default element categories:
| • | All Elements: All elements will be listed here. |
| • | Basic: Simple and essential elements. |
| • | Widgets: Elements that can construct the mockup of desktop or web application. |
| • | Annotate: Some elements that can make comment / annotate on prototype. |
| • | Custom Elements: For user defined custom elements. |
You can switch the element category by clicking the header button of the category.
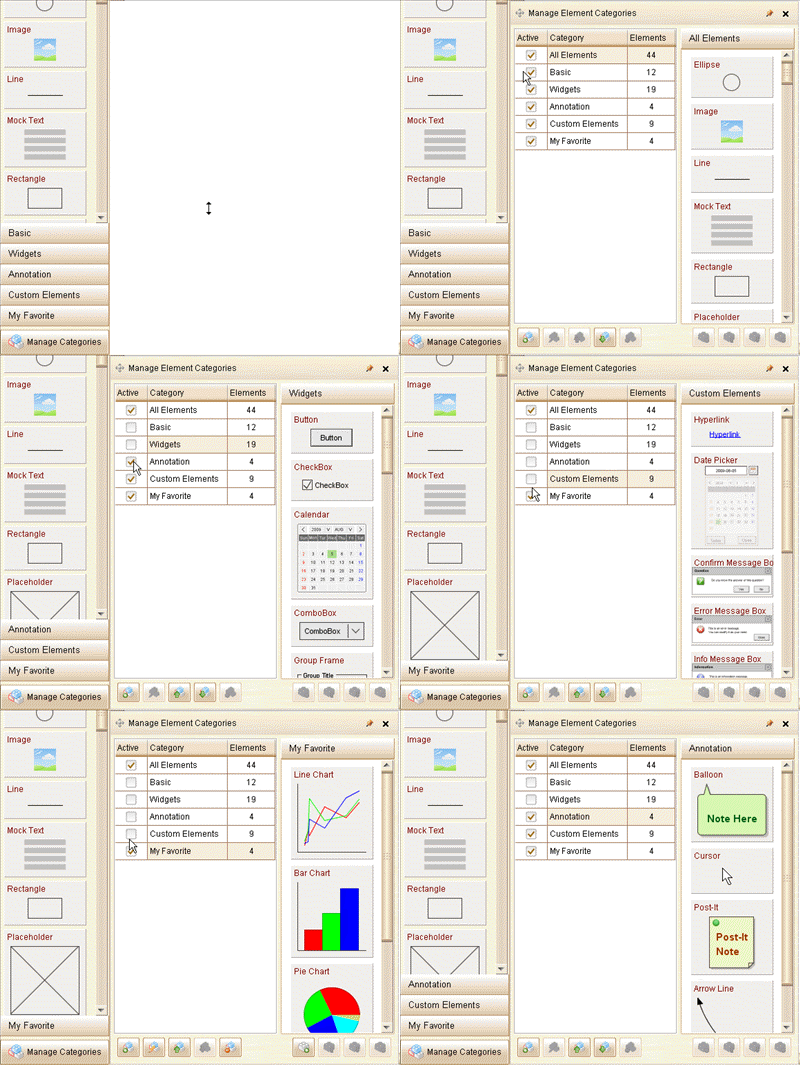
You can manage the category by clicking the "Manage Categories" button on the left-bottom corner.

A categories manage window will pop up:
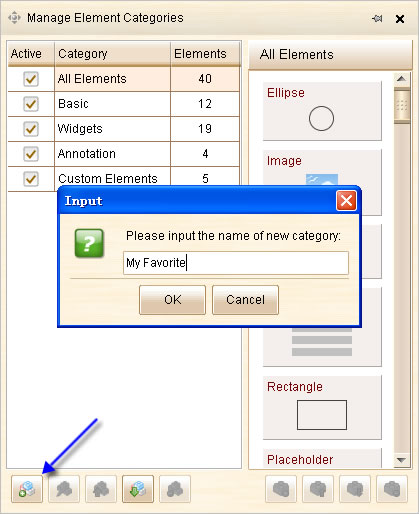
You can also create your own category. Just click the ![]() button in the categories manage window, then input the name of new category:
button in the categories manage window, then input the name of new category:
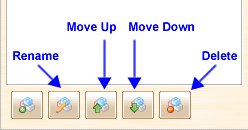
Once the new category is created, you can rename / move up / move down / delete it with the buttons on the bottom of left view.
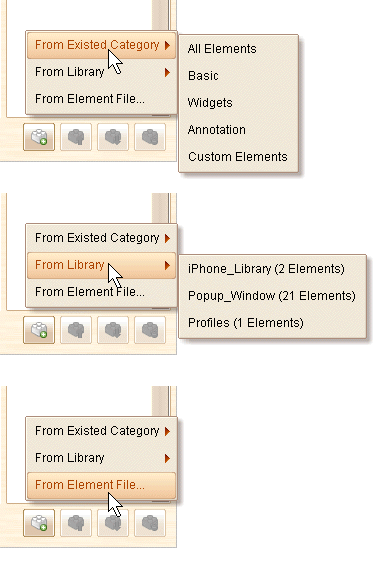
You can click the category to select it and then add elements into the category. A menu will pop up when you click the ![]() button, which allows you to add element form existed categories, from library and from .fce file.
button, which allows you to add element form existed categories, from library and from .fce file.
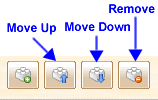
Single clicking the element in the right view can select it, then you can move up, move down or remove the element with the toolbar below:
Remarks: Removing elements from the category will NOT really delete them from your hard disk. You can get them back by loading their .fce files.
Remarks: You can show / hide all element categories except the "All Elements" category. The 5 default element categories can not be modified or deleted.