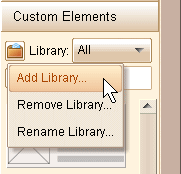
If you have several similar custom elements, you can consider packing them as a library. You can click the ![]() button in the "Custom Elements" category, and select the "Add Library..." item to add a new library.
button in the "Custom Elements" category, and select the "Add Library..." item to add a new library.

You will be asked to input the new library name:

After you click "OK" the library is created. The libraries are directories actually, the figure below shows the directory structure that store the libraries and elements:
|
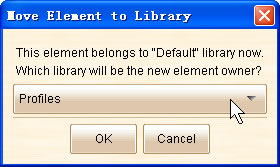
To move custom element to a library, just move mouse cursor over the custom element, and click the ![]() button over the element. You can then select the target library in the drop-down list.
button over the element. You can then select the target library in the drop-down list.

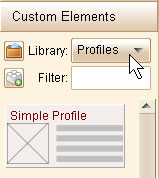
You can switch the current library in the "Custom Elements" category. Only the elements in current elements will be displayed.

Remarks: all elements (no matter where they are placed) belongs to the "All" library.
Save Library as .fcl File
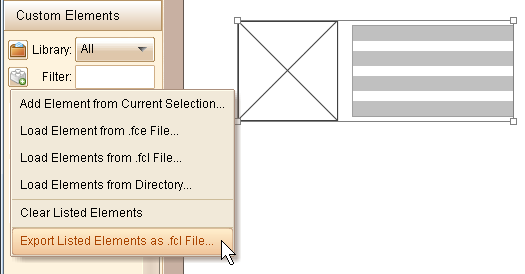
In order to ease sharing the library, you can save the library as an .fcl file. Just switch the current library to the one you want to save, then click the ![]() button in the "Custom Elements" category. In the popup menu choose "Export Listed Elements as .fcl File...".
button in the "Custom Elements" category. In the popup menu choose "Export Listed Elements as .fcl File...".
