ForeUI provides many predefined elements for your prototyping. However you may still need more elements when working on actual project. In this case, you can create your own element with the predefined elements, and save it for future usage. The customized elements can also have their own behavior, that means you can create some functional elements, which are really cool.
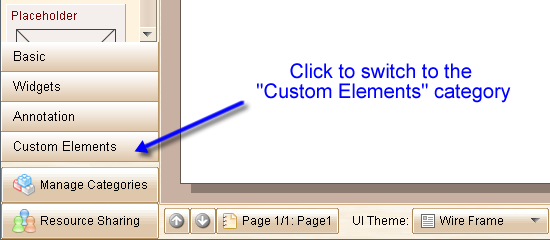
You will need to use the "Custom Elements" category to create and manage your custom elements (and libraries). To open the "Custom Elements" category, just click the "Custom Elements" button on the left accordion.
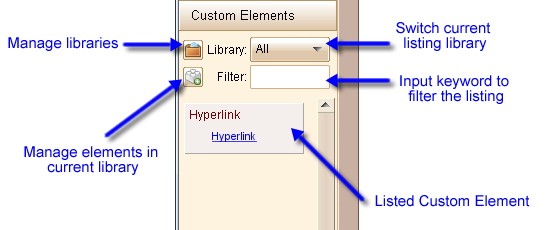
The "Custom Elements" category provides the facilities to manage custom elements and libraries. In ForeUI, custom elements are organized by libraries. Each library can have multiple custom elements. Here is how the "Custom Elements" category looks like:
Create Custom Element
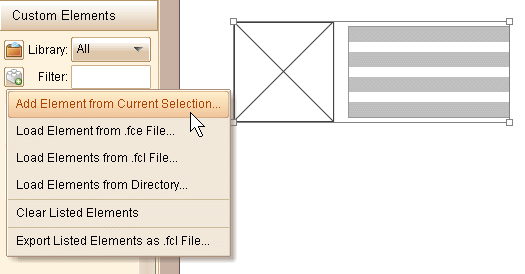
If you have some elements in the plot and want to save them as your custom element, you can select them and then click the ![]() button in the "Custom Elements" category.
button in the "Custom Elements" category.
Then you will see the custom element info window pop up:
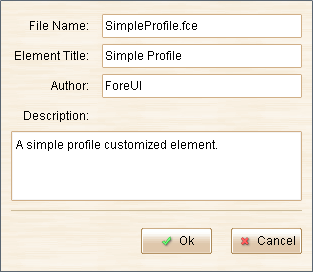
You can modify the information according you need. After clicking the "Ok" button, the custom element is created and will be saved as an .fce file. Also it will be listed in the "Custom Elements" category, thus you can use it like other elements.
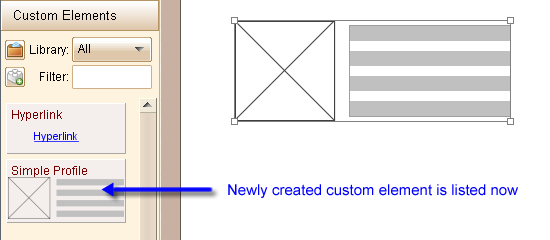
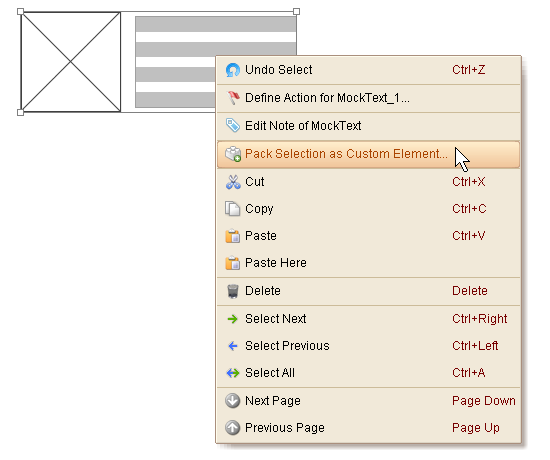
You can also create custom element via the context menu. Just select the elements and then right click to show the context menu, then select the "Create Customized Element..." item, the following steps will be the same.
